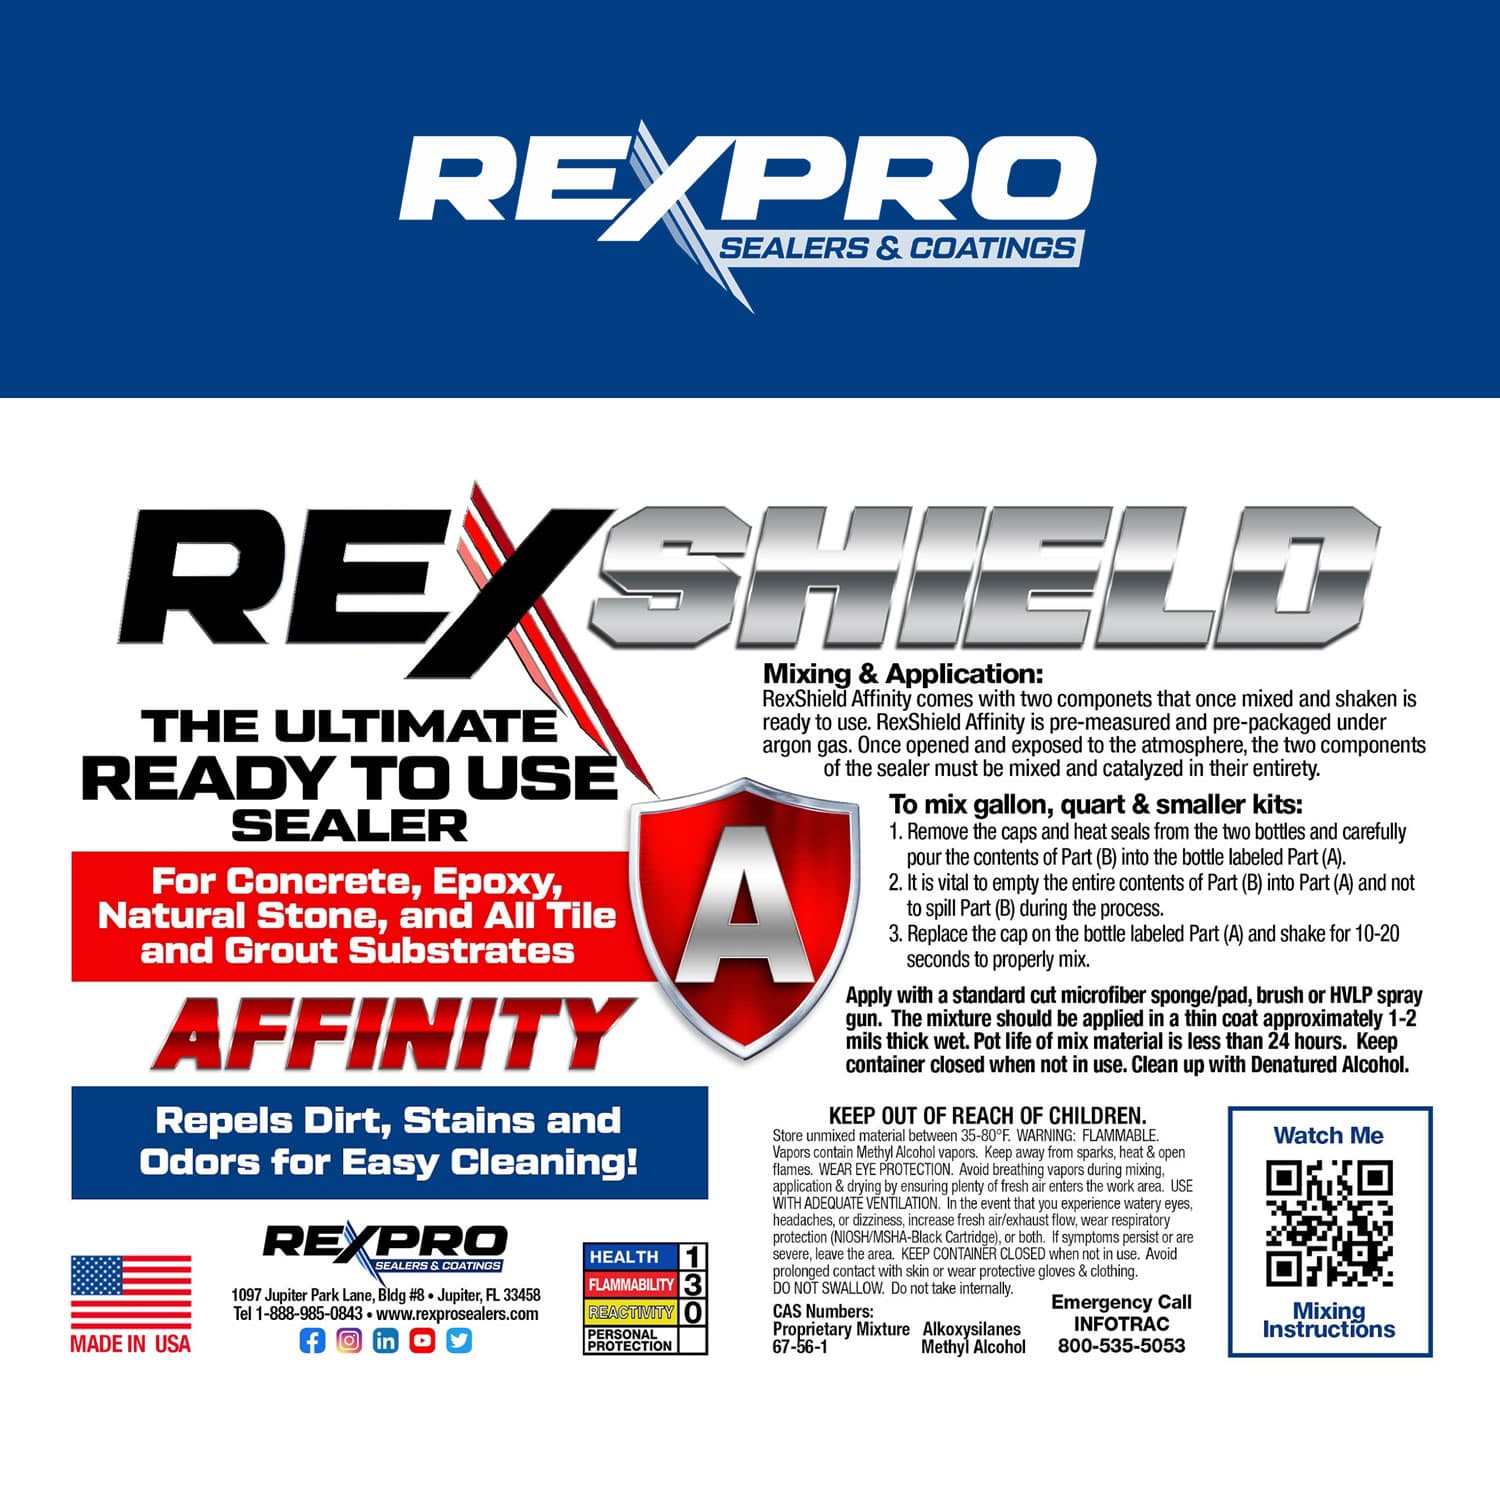
RexShield

RexShield 3 Part Satin
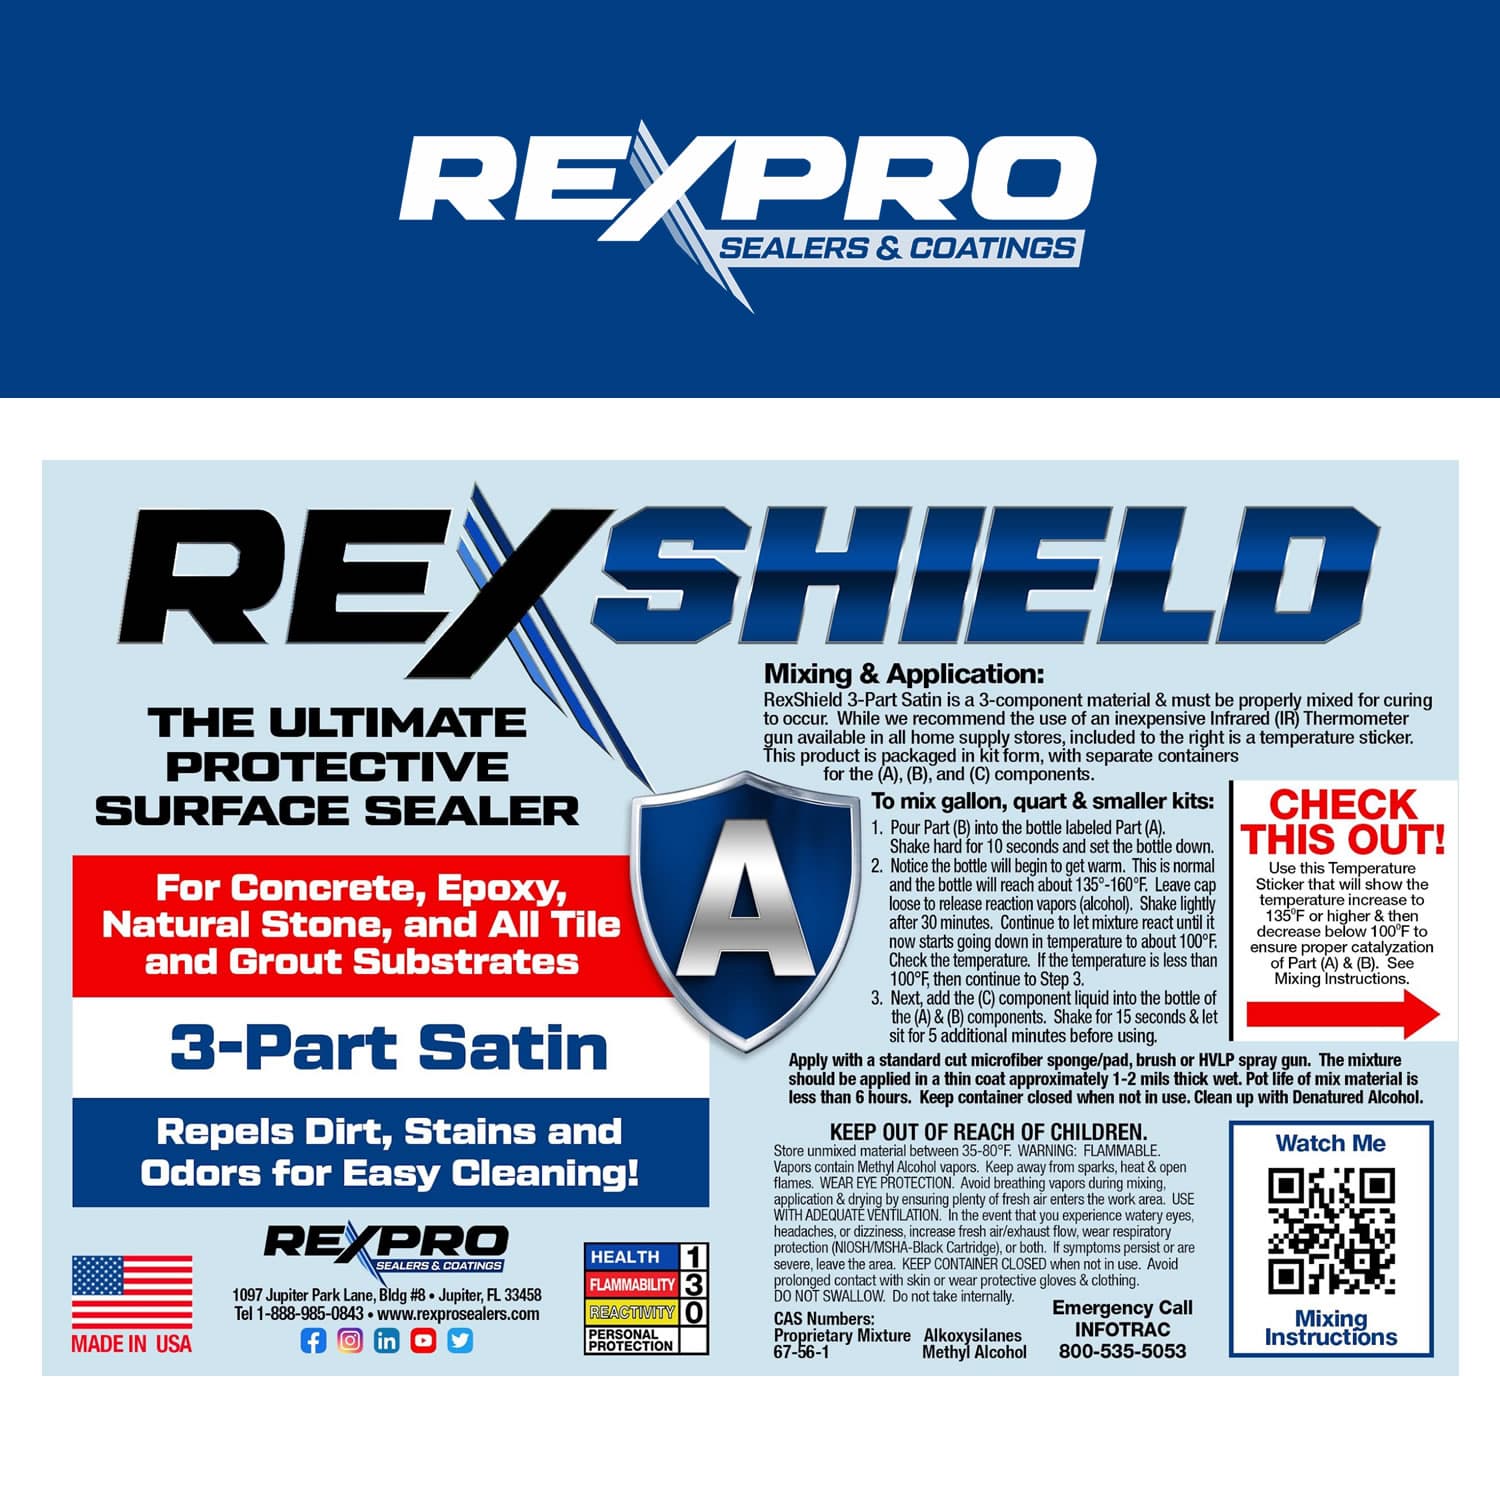
RexShield 3 Part Satin

Concrete Sealer, Tile Sealer, Stone Sealer, Paver Sealer

Product Details

RexShield 3 Part Satin (Click image to zoom in)

RexShield
3 Part Satin

Concrete Sealer, Tile Sealer, Stone Sealer, Paver Sealer

A 3-part satin sealer that both penetrates into and creates a topical layer over concrete, epoxy, stone, tile, grout and pavers.
  • Stops staining
  • Stops mildew
  • Stops odor
  • Non-yellowing
  • Maximizes lifespan
A 3-part satin sealer that both penetrates into and creates a topical layer over concrete, epoxy, stone, tile, grout and pavers.
  • Stops staining
  • Stops mildew
  • Stops odor
  • Non-yellowing
  • Maximizes lifespan

A 2-part “chameleon” sealer that matches the sheen of the underlying substrate. It penetrates into and creates a topical layer over concrete, epoxy, stone, tile, grout and pavers.
  • Stops staining
  • Stops mildew
  • Stops odor
  • Non-yellowing
  • Maximizes lifespan
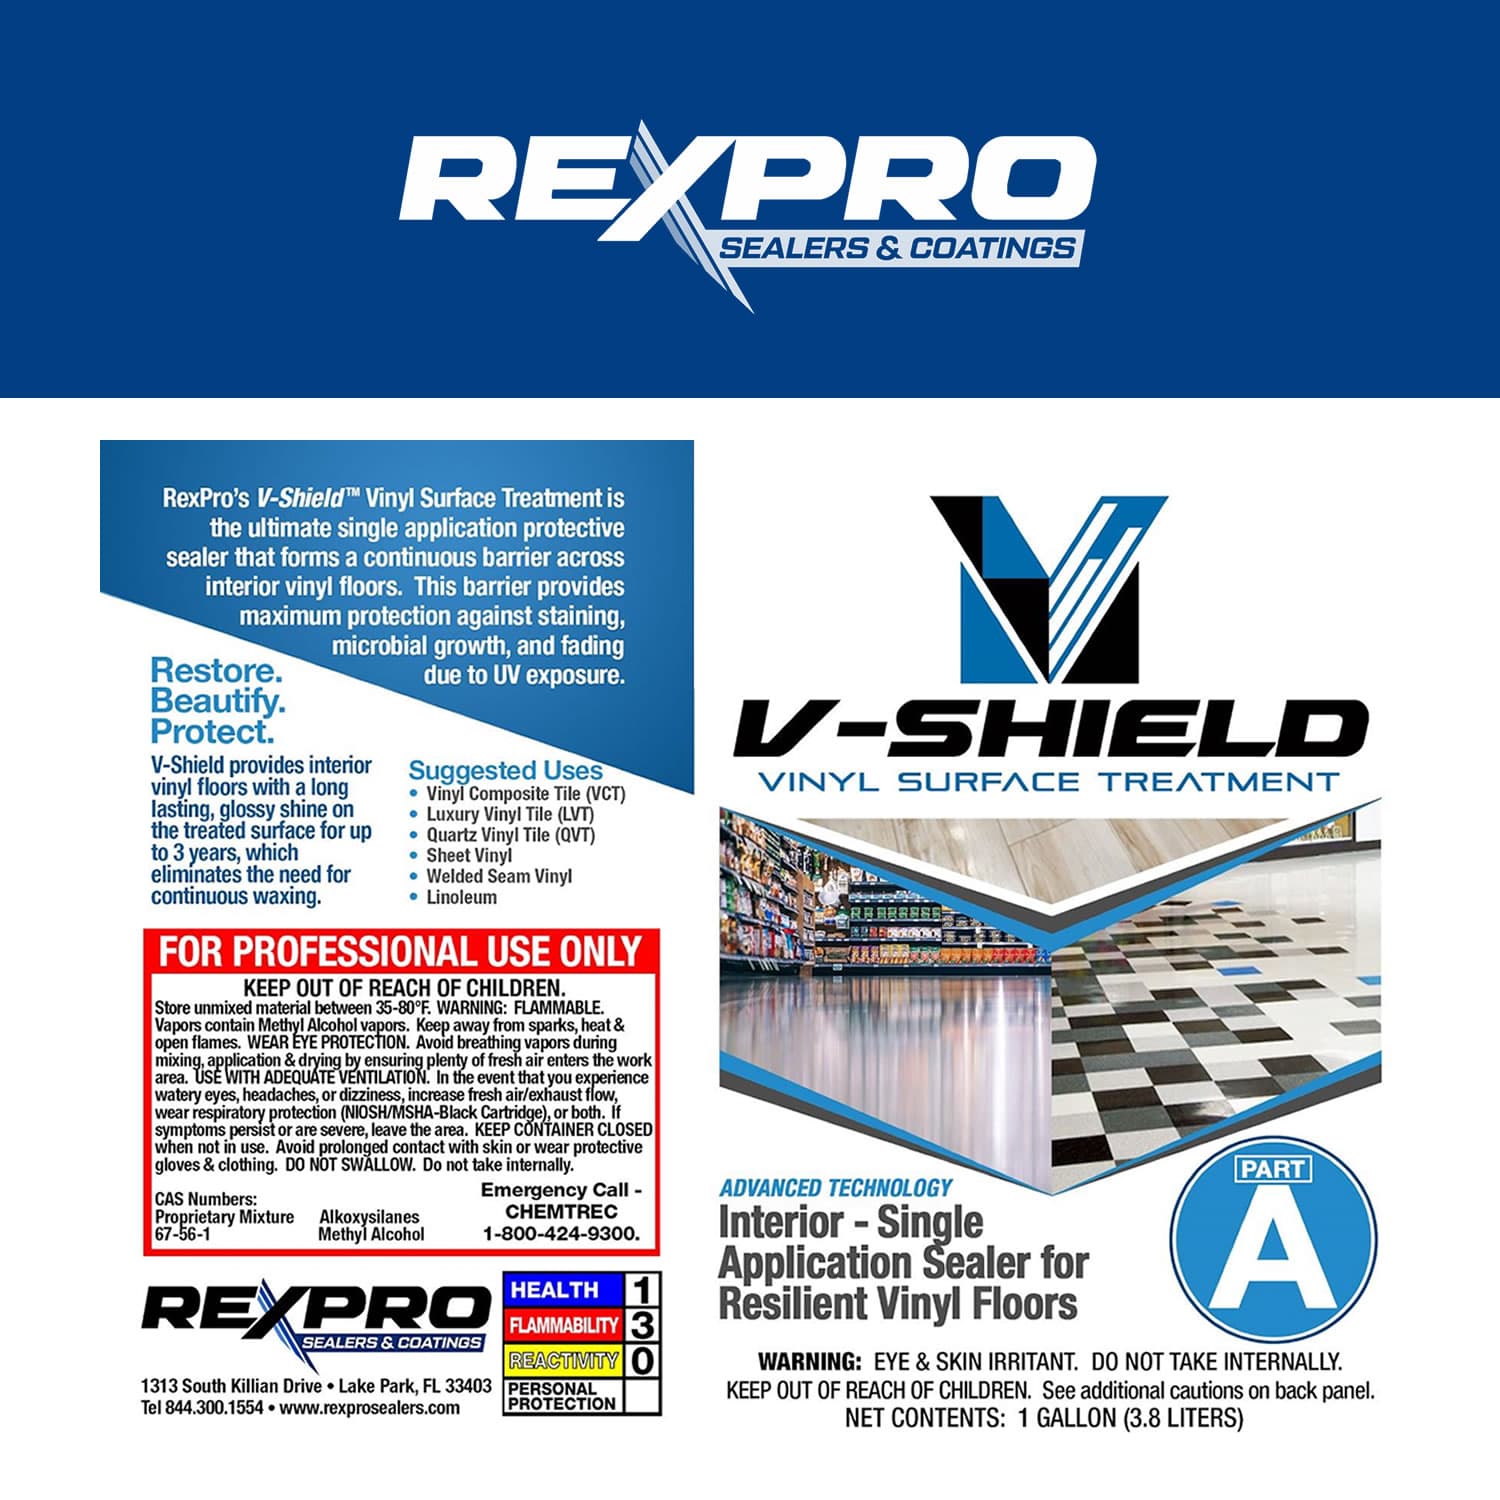
V-shield vinyl sealer vinyl sealer

V-Shield
Vinyl Sealer

Vinyl
Sealer

This vinyl sealer eliminates the need for waxing and buffing. It restores the former sheen and look of vinyl floors while improving slip resistance, hygiene and maintenance.

  • Easier to clean
  • Improves slip resistance
  • Improves wear resistance
  • Fast turnaround
Concrete Sealer, Tile Sealer, Stone Sealer, Paver Sealer

Product FAQ's

  • What chemicals can this prevent from staining the underlying substrate?
    Ketchup, mustard, oil, acetone, grease, balsamic vinegar, wine
  • How will this product help with the polishing and cleaning of marble?
    First and foremost, it is essential to confirm that what you believe to be marble is in fact marble. Feel free to get in touch with us so that we can show you how to do this. Second, using a non-acidic cleaner like our SafetyClean soap to clean your marble is crucial. If you want to do it yourself, you should use a non-abrasive cleaning pad like a natural hairbrush or microfiber, but professionals recommend using an extractor. Before polishing or applying a sealer, all soil and soap must be removed. The application of RexShield Stone, as opposed to polishing, results in a stain-resistant surface. Additionally, there is no dust and it is much less intrusive on the space. Because it won’t stain with acids, foods, or oils, it’s easy to clean once it’s on the surface.
  • Is it possible to restore travertine using this product?
    Yes, applying RexShield Stone to travertine follows the same procedure as applying it to marble, slate, limestone, granite, blue stone, or flagstone. Travertine, on the other hand, typically has holes that must first be filled with a travertine filler before the stone can be used. RexShield Stone can be applied to the surface after the filler has dried, been smoothed, and the surface has been cleaned. It will make travertine more resistant to scratches and prevent it from staining.
3-Part Satin

FAQ's

The 3-Part Satin is a silane based, ceramic forming sealer, similar in chemical structure to glass that makes the treated substrate harder, impossible to stain and more scratch resistant.

The 3-Part Satin makes a covalent or molecular bond with the substrate it is applied to. It becomes a part of the substrate and is not to be compared to a sacrificial or mechanical coating/sealer that “sits” on top of the substrate.

  • The 3-Part Satin is extremely resistant to many types of stains such as balsamic vinegar, ketchup, wine and pickle juice to name just a few. There are very few substances that can break the 3-Part Satin down or even stick to it such as the acidity in urine, gum, stickers or graffiti.
  • TIP: 3-Part Satin will even prevent hot tire marks on sealed driveways and garage floors.

The 3-Part Satin stands up incredibly well against several chemicals. The following chemicals were tested after sitting on a sealed surface for 7 days with absolutely no penetration through the 3-Part Satin – Acetone, Xylene, MEK, Tert-Butyl Acetate, Mineral Spirits, 50% Sodium Hydroxide, Ammonia, 1M Acetic Acid, 0.1M Sulfuric Acid, 1M Hydrochloric Acid, Motor Oil and Hydraulic Fluid.

The pot life for the 3-Part Satin is 6 HOURS once you remove the foil liner from the capped bottles and you begin to mix Part B into Part A.

The shelf life of the 3-Part Satin is one year as long as it is kept in a room that is no more than 80 degrees Fahrenheit.

The 3-Part Satin should never be stored in an area where the temperature is more than 80 degrees Fahrenheit.

Yes, we recommend adding no more than 10% to a fully mixed and catalyzed bottle of the 3-Part Satin. For example, you can add a 12-oz bottle of RexShield Flow to a one-gallon kit of the 3-Part Satin. RexShield Flow will give you more working time and will help smooth out the product. However, it will also slow down the overall dry time.

No, this is not recommended as each bottle of liquid material is placed under Argon prior to heat sealing the cap onto the bottle. Therefore, the second you expose the liquid to air, the 6-HOUR pot life will begin, as the moisture in the air starts a low-grade reaction that if prolonged can damage the efficacy of the product. We currently offer the 3-Part Satin in Gallons, Quarts, Pints & 8-oz samples.

No, this absolutely is not recommended. The chemistry of our products is a precise and an exact science. If the product is placed in the refrigerator, there is a high probability that the product will fail, and RexPro does not warranty any product that is exposed to this type of climate.

  • If applied over a non-porous substrate – 600 – 800 sq. ft.
  • If applied over a porous substrate – 250 – 500 sq. ft.
  • Dry to touch is approximately 2 – 4 hours, and dry through (to walk on) is approximately 4 – 6 hours – both at 70 degrees Fahrenheit and 50% Relative Humidity.
  • TIP: Fans can be used to expedite the dry time.

The full cure time is 7 days. However, the substrate can be used in general sense and furniture can be re-placed (not dragged) after approximately 8-12 hours. We recommend that the customer refrains from using any harsh chemicals on the surface until after the full 7-day cure time (for example, no Isopropyl Alcohol, bleach, acid, etc.).

  • The best way to clean is to use hot water and soap. It’s that simple and easy.
  • TIP: We recommend using our concentrated Safety Clean daily cleanser to not just clean the floor but to also increase the traction of the floor to prevent slips and falls.

In general, we estimate that the 3-Part Satin will last approximately 3 – 5 years in a commercial setting and approximately 5 – 7 years in a residential setting.

  • We ONLY recommend using 99% Isopropyl Alcohol (which we carry) to quickly clean the surface to make sure there are no surfactants or soap residue right before applying the 3-Part Satin as we cannot be certain what the “denatured” chemicals are or what the other %’s of IPA is. For example, with 70% IPA, the remaining 30% may be a lotion or liquid scent oil, etc. and those items may not be compatible with our product.
  • TIP: We always recommend having at least a gallon of 99% IPA on hand, not only to clean equipment, but also in case you need to quickly remove product that is pooling or rejecting on the sealed surface.
  • TIP: After cleaning the surface to be sealed, if the floor needs to be neutralized, mop the floor with white vinegar. The floor should be as close to a neutral pH as possible before sealing the surface.

As soon as you see any 3-Part Satin product pooling or rejecting, quickly spray 99% IPA on the product and wipe it up. You then need to readdress (clean) the substrate as something, such as a wax, is still on the surface and is preventing the 3-Part Satin product to properly adhere to the surface.

If the 3-Part Satin has fully cured (which is 7-days), and the customer wants it completely removed, the only way to remove it is with our specially designed stripper for silane-based products.

  • Yes, but the 3-Part Satin is designed to be a single coat In fact, it is designed to not stick to itself. However, that does not mean that a second application cannot be done.
  • TIP: A second coat would be required if the surface looks streaky or blotchy which is usually the result of not enough product being applied.
  • You can apply a second coat/application of the 3-Part Satin after the product has fully cured for 7 days and with specific preparation techniques.
  • TIP: On a porous substrate such as a paver driveway, you can apply one coat of the 3-Part Satin, and then immediately go back over the surface once you’ve reached the end of the driveway.

After the 3-Part Satin is fully cured, you would want to use a black pad on a swing machine to break the tension of the sealed surface. You would then clean the surface, let it completely dry, wipe it down with 99% IPA, then reapply the 3-Part Satin.

  • First you want to protect the good areas by taping them off. Then focus on the area that requires a touch-up or needs to be fixed by taking a green Scotch Brite pad to the surface and scuff the surface. Then clean the area, make sure it’s dry, and reapply the product.
  • TIP: You can use a black foam brush to fix small areas.
  • You can add additional non-slip in a few ways. First, you can add it to the catalyzed product in the pump-up sprayer as it is thin enough to be sprayed out of the sprayer tip. Just keep shaking the sprayer so the non-slip does not settle to the bottom. Second, you can use a “puffer” gun or a gravity feed abrasive blaster gun (seen here) and “puff” the non-slip onto the surface immediately after you used the microfiber pad, then lightly mist the 3-Part Satin over the non-slip to secure.
  • TIP: Do not step on the already microfibered product. Apply the non-slip as you go. Do not walk back over the product to apply the non-slip.

We recommend one to two ounces per gallon of 3-Part Satin.

  1. Scan the QR Code on the bottle to quickly review a video of the mixing instructions.


  1. Notice the temperature sticker on the bottle labeled Part A. This will be your guide to see if the chemical reaction between Part B and Part A is taking place instead of using an infrared thermometer.


  1. After cleaning the surface to be sealed, make sure it is completely dry including the grout on a tile floor/wall. You can use fans to expedite the drying process. For outdoor surfaces, such as pavers, stone or concrete, wait until the next day to apply the sealer as this then allows enough time for the power washed surface to be dry. Remember to make sure any outdoor sprinkler systems are turned off for 24-48 hours prior to application.


  1. If when applying the 3-Part Satin to a surface, you begin to see the product pool or bead up, this is an indication that the product is rejecting the surface for some reason. When this happens, quickly spray 99% IPA onto the product on the surface and wipe it all up. You then need to readdress (clean) the surface as some sort of contaminant is still on the surface – for example, soap scum, wax, previous sealer, etc.


  1. The 3-Part Satin can easily be removed if need be with 99% IPA up to 3 (THREE) days after application. After the 3 days, a stripper will be required to fully remove the 3-Part Satin or you can profile the surface with a black pad and then reapply.


  1. The 3-Part Satin is the most successful to adhering to the treated surface when the pH of the surface is neutral. Check the pH of the clean and dry surface prior to application.


  1. If you need to further neutralize the surface, mop the surface with white vinegar. This will help bring the surface to a neutral pH.


  1. It is recommended and best practice to work in a 2-person team. This allows one person to be spraying the product down and the other following and gently pulling the microfiber mop over the product. Also, be sure to have a slight overlap from the previous “lane”. Don’t forget to check for missed spots before getting too far away from the “lane”.


  1. When using a microfiber pad, be sure to spray the microfiber pad with the product and make it completely wet/soaked with the product. This will allow for a smoother application and less streaks.


  1. It is always recommended to add additional non-slip 220 grit to a surface wherever bare feet may come into contact with water on the floor. For example, always add non-slip to a shower floor.
Tags: Concrete Sealer, Tile Sealer, Stone Sealer, Paver Sealer

Add address